Showing posts with label gifts. Show all posts

Thursday, September 30, 2010

Is September really over??

I can't believe that September is already over. It sure went fast!
But, as far as I'm concerned, the next
2 1/2 months can fly by too, because that's when Elder Carter gets home!
He will be home in roughly 85 days! (give or take a few!)
I cannot wait!

Well, I took a little blog break. Didn't mean to. It just happened.
Life sort of got a busy.
Hmmm....imagine that!?

However, I wanted to share a little love that was sent my way.
My sweet blog friend, Linda, from Parker's Paradise sent me this adorable little pin cushion.

Isn't it just the most precious thing?
She is so clever!

Thank you Linda. You are the sweetest, kindest, and most generous person I have NEVER met. :):):)
I hope that we will be able to meet very soon.
And you know what they say.....what goes around, comes around.
May you experience that same love you so freely give others!  

Wednesday, May 12, 2010

Just trying to keep busy.....

There are times, in my quiet moments, that I swear my brain is going to explode with all the things I am thinking about. It is full of  thoughts about what I would like to do, what I should be doing, what I need to do, how much money we have....or don't have, and ideas for things I would like to make. Sometimes I just have to get my little notebook that I've carried around for years in which I jot down ideas and sketches of ideas that I think would be fun to make. It helps get them out of my brain so the ideas and things don't drive me bonkers. It also helps me remember the ideas.
But sometimes I just sit down behind my trusty sewing machine and do some mindless sewing and let my brain do it's thing.


I was asked by "someone" (I can't say or it will ruin the surprise) to make a baby quilt or two.
 This project was perfect for me while my brain was doing it's swirling about.
 

Once again, this is a stash only quilt. I was nervous about having enough "boy" fabrics to pull this off, given my goal of not buying anymore fabric until December. But I surprised myself and squeaked this little baby out. I hope the colors are not too dark for a baby boy....
So, if the "some one" that asked me to make this, sees this post, let me know what you think! :)

Monday, November 23, 2009

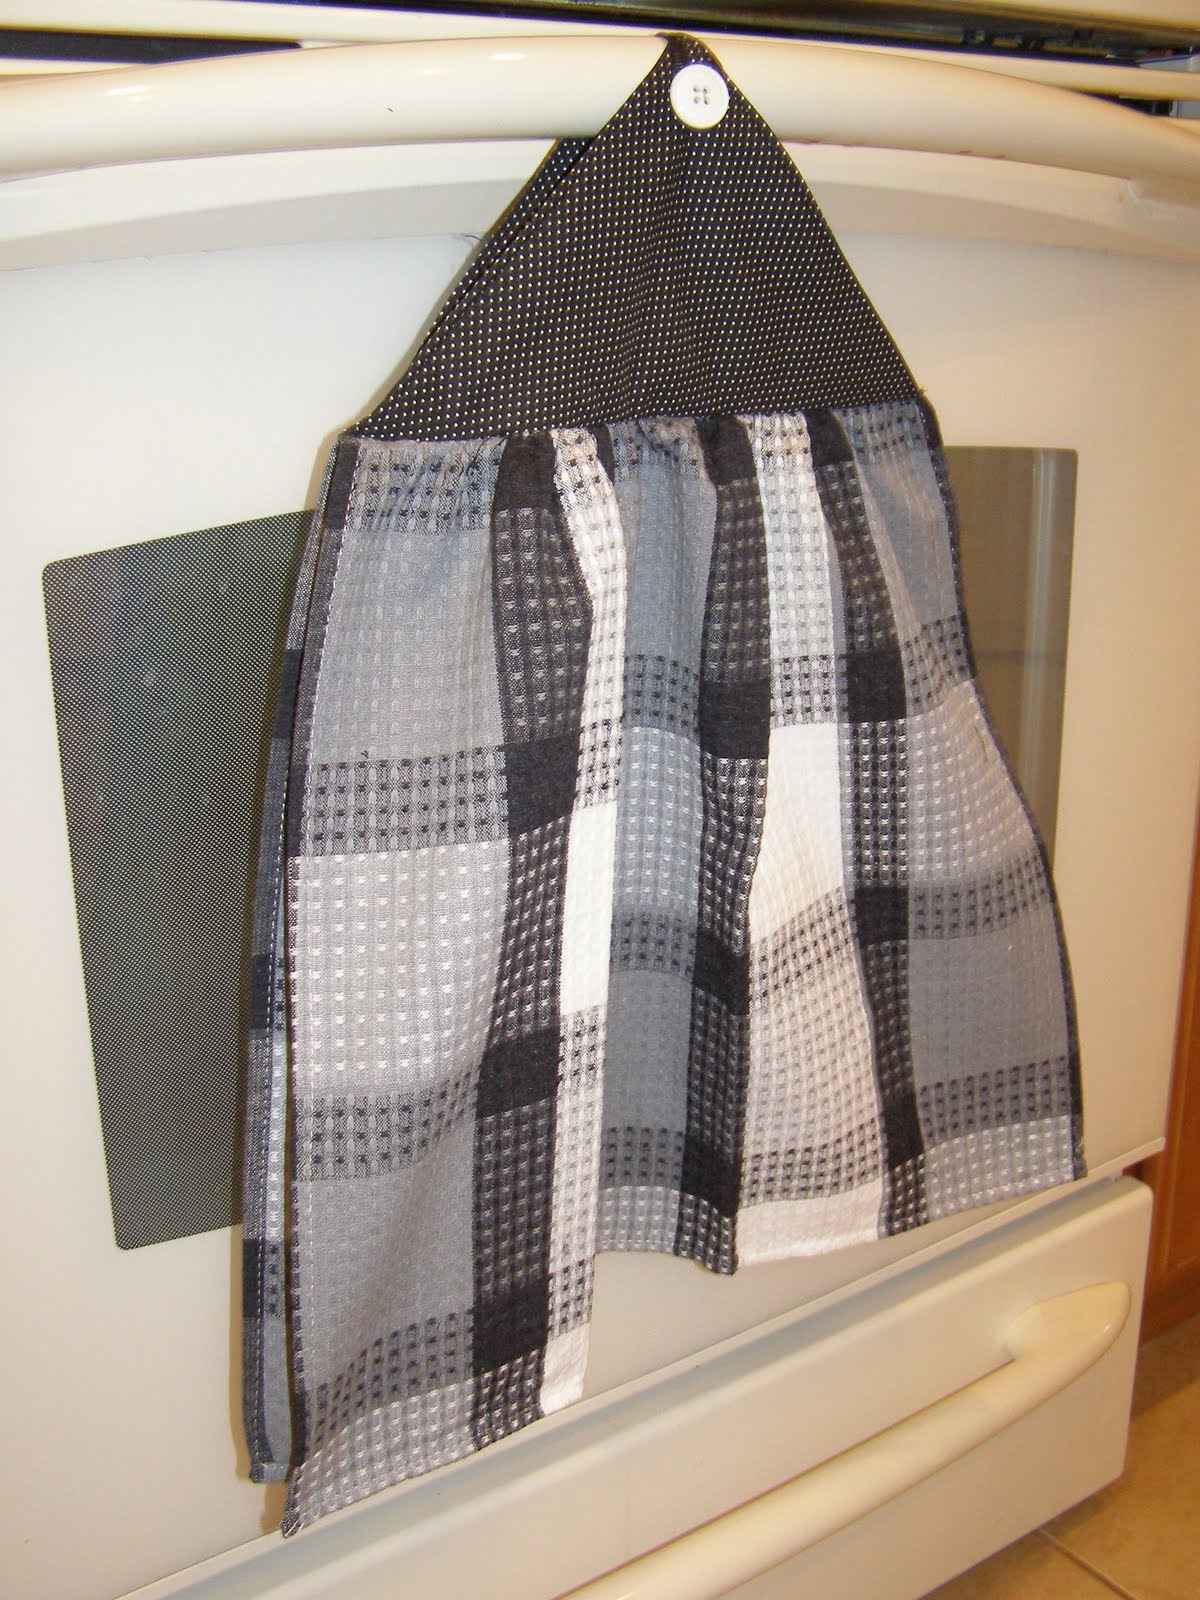
Hanging dishtowel tutorial

I have recently been asked about these little hanging dish towels that I make and thought that a tutorial might be in order. This is my first tutorial....so be patient with me if it isn't the most informative....;) This is not an original idea, but the ones I made in the past have had a pot holder for the hanger, and they were just so bulky to sew. I decided to try making one with a fabric hanger instead of the pot holder and I like it so much more. Anyway...here goes!!! First, pick a coordinating fabric that goes with the dishtowel you would like to use. Next, cut two 8" squares from the fabric and one 8" square from a piece of batting. I use the Warm and Natural batting for these but any low loft batting will do.
Make a little sandwich with the fabric squares right sides together and the batting on the bottom.
Cut a matching piece of ribbon approx. 4" long. Pin the ribbon in a loop between the two layers of fabric.
Sew with 1/4" seams all the way around, leaving a 2" opening for turning.
Turn square right side out. Your batting should now be on the inside and your ribbon loop should be on the outside. Pin 2" opening shut and top stitch all the way around.
Are you still with me? Are you confused?
Place your ruler on the inside of your square matching the side corners. (the loop corner being the top) Mark a line from corner to corner. This will be your sewing line as you sew the towel on.
Press your dishtowel in half.
Along the pressed crease, sew a basting stitch. You can also use a gathering stitch if your machine has one. You can also do this by hand if you want.
Gently pull the loose ends to gather your dish towel in the middle.
Lay your fabric square on top (with marked line up) matching the corners to each side of the gathered towel.
Taking care to make sure the towel is laying straight, sew across your marked line. (don't forget to change your stitch length back to the normal setting)
And, WAH-LAH! There you have it. Easy peasy, lemon squeazy!
These make great neighbor gifts for Christmas. Add a little tag that says, "May the Christmas Spirit 'hang around' all year long!"
**Yes, that is some sort of splatter on my oven door. Funny how I didn't see it until I took the picture!
Happy Sewing!!